
Published October 27, 2026
If the climate control display on your 1997-2004 Corvette has gone dim or blank, you hear clicking behind the dash, one side blows hot while the other blows cold, or the air won't leave the windshield, you are not alone. Climate control trouble is one of the most common C5 complaints, and most of it comes down to a handful of parts: the control head, two small electric temperature actuators, and a vacuum system that moves the other air doors. This guide explains how the system works, what fails, how to pull the codes and recalibrate it yourself, and which fixes make sense.
Quick Answer
- Dim, flickering or missing display segments on the dual-zone head are usually caused by cracked solder joints on the control head's circuit board, or by burned-out backlight bulbs. The fix is a rebuild of your original head or a good used one.
- Clicking behind the dash, or the wrong temperature on one side, usually points to a temperature (blend door) actuator. Start with a free recalibration. If that doesn't fix it, check the codes, then replace the actuator.
- Air from the wrong vents, stuck on defrost, or recirculation not working is almost always a vacuum problem, not an electrical one. The usual culprits are a cracked or disconnected vacuum line, the vacuum tank, a leaking vacuum actuator, or the vacuum control valve.
- Dual-zone cars (RPO CJ2) can show HVAC trouble codes on the Driver Information Center, with no scan tool needed.
Which Corvettes Are Affected?
Every C5 has one of two climate systems. Check the RPO codes on your Service Parts Identification label, or simply look at the dash: the automatic system has a digital display and AUTO button, and the manual system has rotary knobs and no display. Our guide on where to find the RPO code label shows you where to look.
| System | Years | How the air doors are moved | Codes and calibration |
|---|---|---|---|
| CJ2 dual-zone automatic (digital display) | 1997-2004 (standard on 2003-2004) | Two electric temperature actuators (left and right). Mode, defrost and recirculation doors are vacuum operated. | Stores B-codes you can read on the DIC; actuators self-calibrate |
| C60 manual (rotary knobs) | 1997-2002 | One electric temperature actuator. Mode doors are vacuum operated through a valve built into the control head. | No HVAC body codes and no actuator calibration |
The dim display problem only affects the CJ2 head, because the manual head has no digital display.
Symptoms
- Display problems: the readout is dim or hard to read in daylight, segments or whole digits are missing, the display flickers or goes blank, or the button backlighting is out at night.
- Clicking or ticking behind the dash, often for a few seconds after you start the car or change the temperature. This is the classic sign of a temperature actuator with stripped gears or a door that is binding.
- Driver and passenger sides blow different temperatures even with both set the same, or one side won't go fully hot or fully cold.
- Air from the wrong vents: it's stuck on defrost, it blows from every vent at once, or it won't switch to the floor.
- Air moves to different vents when you accelerate or climb a hill, then returns. That points to a vacuum leak or a failed check valve.
- The recirculation light flashes three times when you press it. In defrost or mixed defrost-floor mode, that is normal, not a fault: the system won't allow recirculation in those modes.
How the System Works (and Why It Fails)
The Control Head
On CJ2 cars, the control head on the dash is more than a set of buttons. It is the HVAC control module, the computer that reads the in-car, outside and sunload sensors and drives the actuators. It talks to the rest of the car over GM's Class 2 data line. Its display and backlighting live on a circuit board that sees years of heat cycling behind the dash. Over time, the solder joints that feed the display lighting crack, which is why the display slowly dims or flickers, or works only when warm. Some heads also use small incandescent bulbs for backlighting, and those simply burn out.
The Temperature (Blend Door) Actuators
The temperature doors mix air from the heater core and the A/C evaporator. Dual-zone cars have two electric actuators, one per side. Each is a small motor with plastic reduction gears and a position sensor, so the module always knows exactly where its door sits. When the plastic gear teeth wear or strip, the motor spins but the door doesn't follow, and you hear clicking. If a door is blocked, or its foam seal is torn or missing, the actuator can't hit its expected end stops, and the module sets a code. Manual (C60) cars have a single, simpler electric actuator with no position feedback to the head.
The Vacuum Side
Air delivery is handled by engine vacuum on both systems. Vacuum comes from a port at the rear of the intake manifold, through a check valve, to a vacuum tank on the passenger side near the front wheelhouse and battery. From there it runs into the cabin. On CJ2 cars, a vacuum control valve with five solenoids sits behind the glovebox and routes vacuum to the mode, defroster and air inlet (recirculation) actuators. The C60 manual head uses a vacuum selector built into the head itself. Vacuum lines get brittle with age, the connector at the manifold can pop off during engine work, and a leaking battery can damage the nearby lines and tank. Any of these can leave you with air stuck in one place.
How to Diagnose It
Step 1: Read the HVAC Codes (CJ2 Cars)
Dual-zone cars can display their codes on the Driver Information Center. Turn the ignition ON with the engine off, press RESET, then hold OPTIONS and press FUEL four times to enter diagnostics. Step through the modules until you reach HVAC. Our C5 on-board diagnostics guide walks through it, and the full list is in our C5 trouble code guide. The HVAC codes most often tied to these problems are:
| Code | Meaning | What to check |
|---|---|---|
| B0361 / B0363 | Left (driver) temperature actuator feedback shorted low / open | Actuator connector and wiring, then the actuator |
| B0365 / B0367 | Right (passenger) temperature actuator feedback shorted low / open | Actuator connector and wiring, then the actuator |
| B0441 / B0446 | Left / right temperature actuator out of range during calibration | A binding or blocked door, damaged door seals, or a worn actuator |
| B0337 / B0338 | Inside air temperature sensor shorted / open | The in-car sensor and its small aspirator hose |
| B0332 / B0333 | Outside air temperature sensor shorted / open | The sensor at the front of the car and its connector |
| B0348 | Sunload sensor open | The sensor on top of the dash and its connector |
If a sensor fails, the module falls back to a default value, so the car still heats and cools but automatic mode behaves strangely. A battery disconnect clears the HVAC codes, so read them before you unhook anything.
Step 2: Recalibrate the Actuators
Recalibration is free and often fixes a side-to-side temperature difference, especially after a battery change or dead battery. On CJ2 cars:
- Turn the ignition OFF.
- Remove the HVAC control module's battery fuse in the passenger-side footwell fuse panel for at least 60 seconds. Check the fuse panel label to confirm which fuse it is. Disconnecting the battery also works.
- Reinstall the fuse, start the car, and don't touch any climate controls for about a minute. The module drives both actuators through their full travel to relearn the end points. You may hear them moving.
Recalibration does not apply to manual (C60) cars.
Step 3: Listen and Look
With the engine running, slowly sweep the driver temperature from full cold to full hot, then do the same on the passenger side. Clicking that follows one side tells you which actuator to suspect. The driver-side actuator is the easier one to reach, from the driver footwell. The passenger-side unit sits much deeper and requires removing the upper dash pad.
Step 4: Check the Vacuum Supply
If the temperature is fine but the air goes to the wrong place, work through the vacuum system in order:
- With the engine running, confirm there is vacuum at the intake manifold port that feeds the HVAC system. Make sure the line is actually connected there.
- Check the vacuum where the supply line reaches the vacuum control valve. It should match engine vacuum. If it is lower, look for cracked, loose or collapsed lines and inspect the tank and check valve, especially if the battery has ever leaked.
- If the air shifts vents under acceleration, disconnect the supply at the control valve, connect a vacuum gauge, start and stop the engine, and see whether the vacuum holds. If it bleeds off, the tank, check valve or a line is leaking.
- With a hand vacuum pump, apply vacuum to each actuator. A good actuator moves and holds. If it doesn't, either the diaphragm has failed or the door is binding.
- If the supply and actuators are good but vacuum doesn't reach the right actuator when you change modes, the vacuum control valve (or, on manual cars, the head's selector) is the likely fault.
Fix Options Compared
1. Rebuild Your Original Control Head (Dim or Dead Display)
If your actuators and vacuum are fine and the problem is the display, our C5 Climate Control Panel Rebuilding Service repairs the failed solder joints and backlighting on your own unit, for all 1997-2004 dual-zone heads. You keep your original part, and there is no worry about matching part numbers. It cannot save a head with a shorted logic board. Price at time of writing: $295 to rebuild your unit. The ship-me-a-rebuilt-unit option ($395) is currently out of stock, but you can join the waitlist.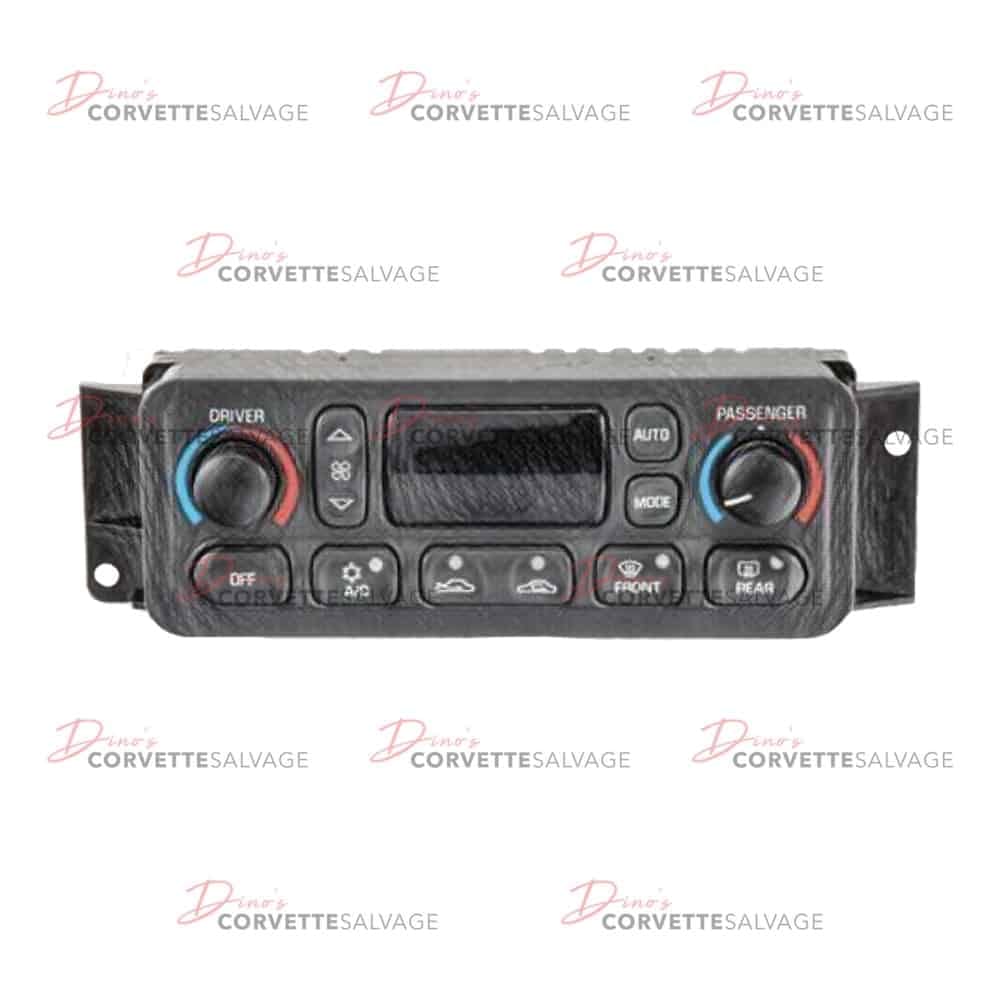
Some owners reflow the solder joints themselves. It is doable with a fine-tipped, low-wattage iron and leaded solder, but the boards are delicate, and a slip can turn a $295 repair into a replacement.
2. Replace the Head with a Used OEM Unit
If the head is dead, has button or logic faults, or you want to be back on the road quickly, a tested used C5 dual climate control panel is the quickest fix. Plug it in with the key off, then let it run its self-calibration for at least a minute without touching the controls. Price at time of writing: $495.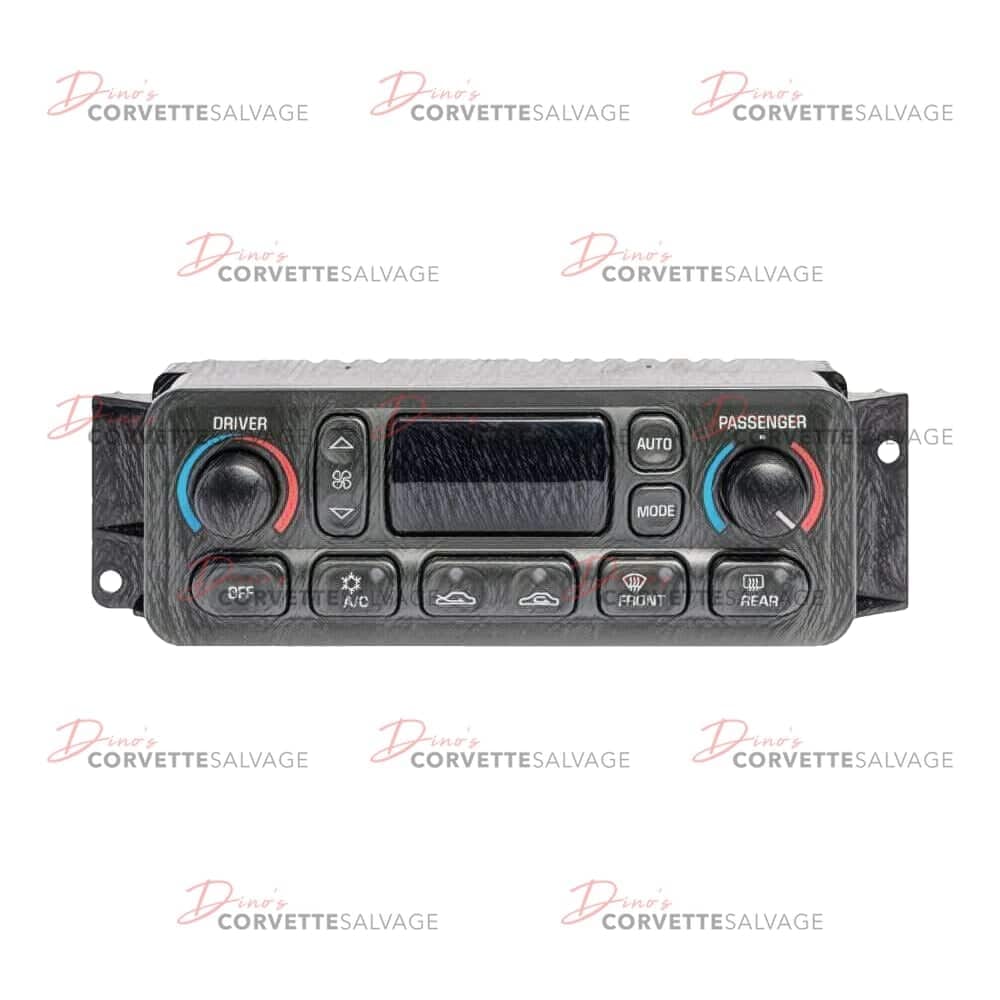
- GM changed the dual-zone head during the C5 run. GM's own service information calls for a 2001-or-newer head to cure a driver-side warm-air problem on 1997-2000 cars, so match or update your part number rather than buying any head that fits. Check the label on your unit before you order.
- Manual-A/C cars (1997-2002) need the manual head: see the used C5 manual A/C control panel ($295 plus a $100 core charge, currently out of stock with a waitlist). Our guide on how core returns work explains the core charge.
- For worn cosmetics, we also stock a new display lens, knobs and faceplate. You can browse every head and trim part in our control panels category.
3. Replace a Temperature Actuator (Clicking or Wrong Temperature)
If recalibration doesn't help, or you have actuator codes or clicking, replace the actuator on the affected side. The new C5 temperature valve actuator (GM 16163982, the dual-zone actuator, $49.99) and the used C5 temperature valve actuator ($45) are both in stock at time of writing. Dual-zone cars use two of them, one per side. Manual cars use a different single actuator, the temperature valve actuator without dual-zone A/C ($52.99, currently out of stock).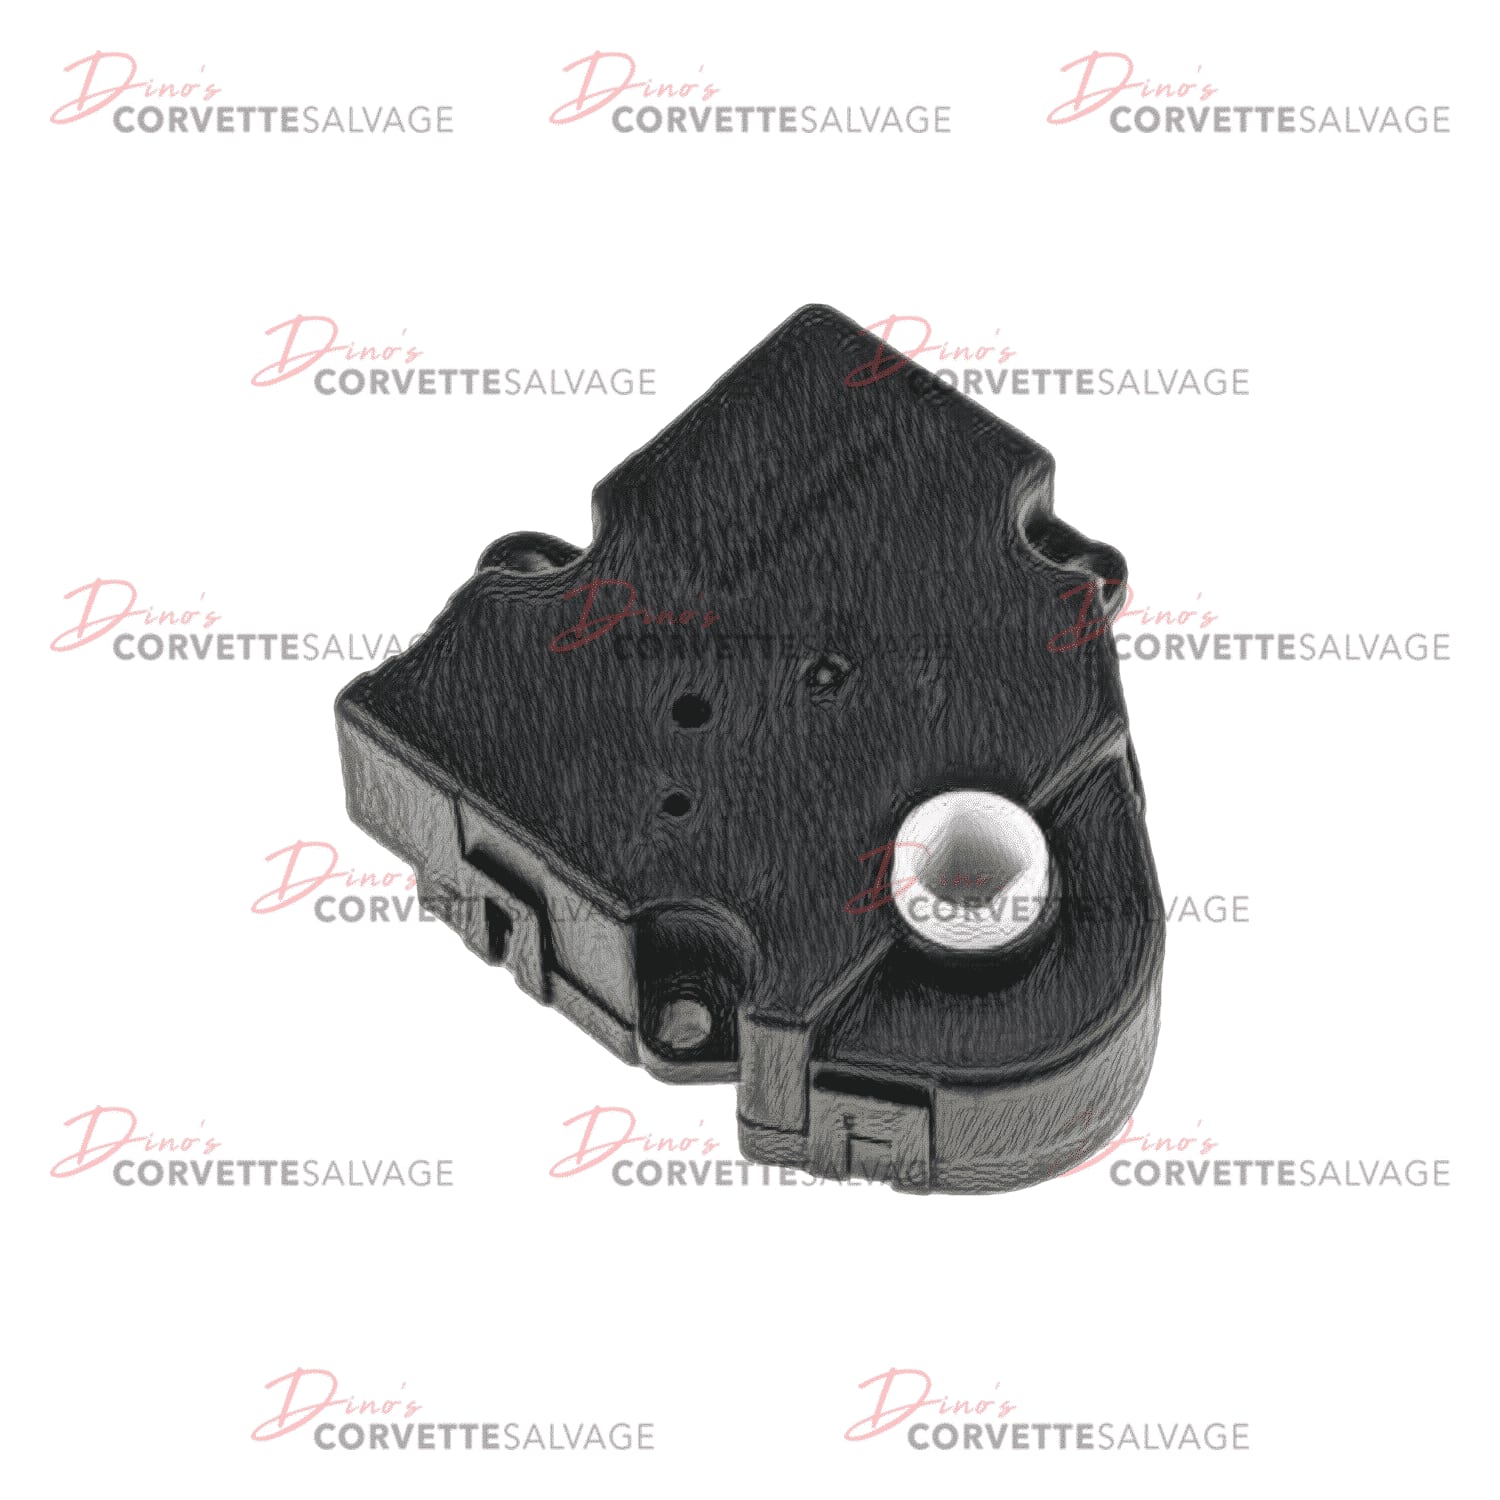
- Driver side: reached from the driver footwell after you remove the lower trim, the Bose amplifier and the in-car sensor duct. This is a reasonable driveway job.
- Passenger side: requires removing the upper dash pad. Budget an afternoon or have a shop do it.
- Always recalibrate (Step 2 above) after installing a new actuator, and check the door moves freely by hand before you blame a new part.
4. Repair the Vacuum System (Wrong Vents)
Most vacuum fixes cost little: reconnect or replace a cracked line, replace the tank or check valve, or replace one actuator. Used OEM mode valve, defroster valve and air inlet valve actuators are listed at $25-45 (currently out of stock, with a waitlist), and the used C5 climate control vacuum valve is in stock at $45. See all of them in our A/C valves category.
5. Replace a Failed Sensor (Odd AUTO Mode Behavior)
If the codes point to a sensor, a used inside air temperature sensor ($75), outside air temperature sensor ($7.95) or sunload sensor ($25, currently out of stock) is an inexpensive fix. Prices are at time of writing.
Which Fix Should You Choose?
- Display dim or blank, but the system works: rebuild your original head. If you can't be without the car, buy a used head.
- Head dead, buttons not responding, or the head has logic faults: a used OEM head with the correct part number.
- One side warm, the other cold: recalibrate first. If codes B0361-B0367 or B0441/B0446 return, replace that side's actuator. On a 1997-2000 car with a driver-side problem, consider a later head.
- Clicking behind the dash: find which side, then replace that actuator.
- Air stuck on defrost or the wrong vents: trace the vacuum supply from the manifold port first. It is usually a line, not a part.
Frequently Asked Questions
Can I drive with a clicking blend door actuator? Yes. It isn't a safety issue, but the noise will continue and the temperature on that side won't be right. A stripped actuator can also wear further, so plan to replace it.
Why did my temperatures go wrong after a battery change? Losing power erases the module's memory and forces a recalibration. If something interrupted that relearn, such as you pressing buttons right after starting, simply repeat the fuse-pull procedure above.
Will a used control head work in my car? Yes, if it is the same system (dual-zone or manual) and a compatible part number. There is no VIN programming for the C5 HVAC head. It recalibrates itself after you install it.
Is the dim display a sign the whole head is failing? Usually not. In most cases, only the display lighting circuit is affected, and the climate functions work normally. That is why a rebuild is often the best-value fix.
My manual-A/C C5 blows from the wrong vents. Is it the same problem? The vacuum side works much the same way, so check the vacuum supply, tank and lines first. On manual cars, the vacuum selector is built into the control head, so a head that leaks vacuum can also be the cause.
Want to know how the dual-zone system is meant to behave? Read our C5 dual climate control operation guide. If you're shopping for a C5, add the climate control check to the list in our C5 buyer's guide, and see our tips on buying used Corvette parts.
Sources
- GM service information, 1997-2004 Corvette: HVAC Description and Operation (CJ2 and C60 systems): GM service info: air temperature, GM service info: air delivery
- GM service information, 2002 Corvette: Actuator Recalibration, HVAC Control Module Replacement and Vacuum Control System Diagnostic: GM service info: recalibration, GM service info: module replacement, GM service info: vacuum diagnostic
- GM service information: HVAC diagnostic trouble code descriptions B0332-B0446: GM service info: HVAC code list
- GM Preliminary Information I000694, "CJ2 HVAC DTCs B0361 and B0441 and Drivers Side AC Blows Warm," 1997-2004 Corvette: GM PI I000694
- GM parts catalog (EPC), 1997-2004 Corvette, A/C control system.